United States
US
United States
US


Online Teaching Equipment Guide 2026: Laptop Specs, Headsets, Lighting + Setups
Table of Contents
- Introduction
- What equipment do you need?
- Optional extras
- Budget tips
- Budget-friendly teaching setup
- Common mistakes
Did you know that the online teaching industry is the fastest-growing sector in education?
The online English teaching industry is predicted to double from approximately $28 billion in 2024 to roughly $70 billion by 2030!
What does that mean for you?
It’s a lucrative industry. Having the right tools and equipment for online English teaching is essential for delivering effective lessons that stand out.
Here we break down exactly what tools and equipment are essential for a teacher, from PC specs to budget hacks and cost breakdowns to suit your budget needs.
Let’s get started!
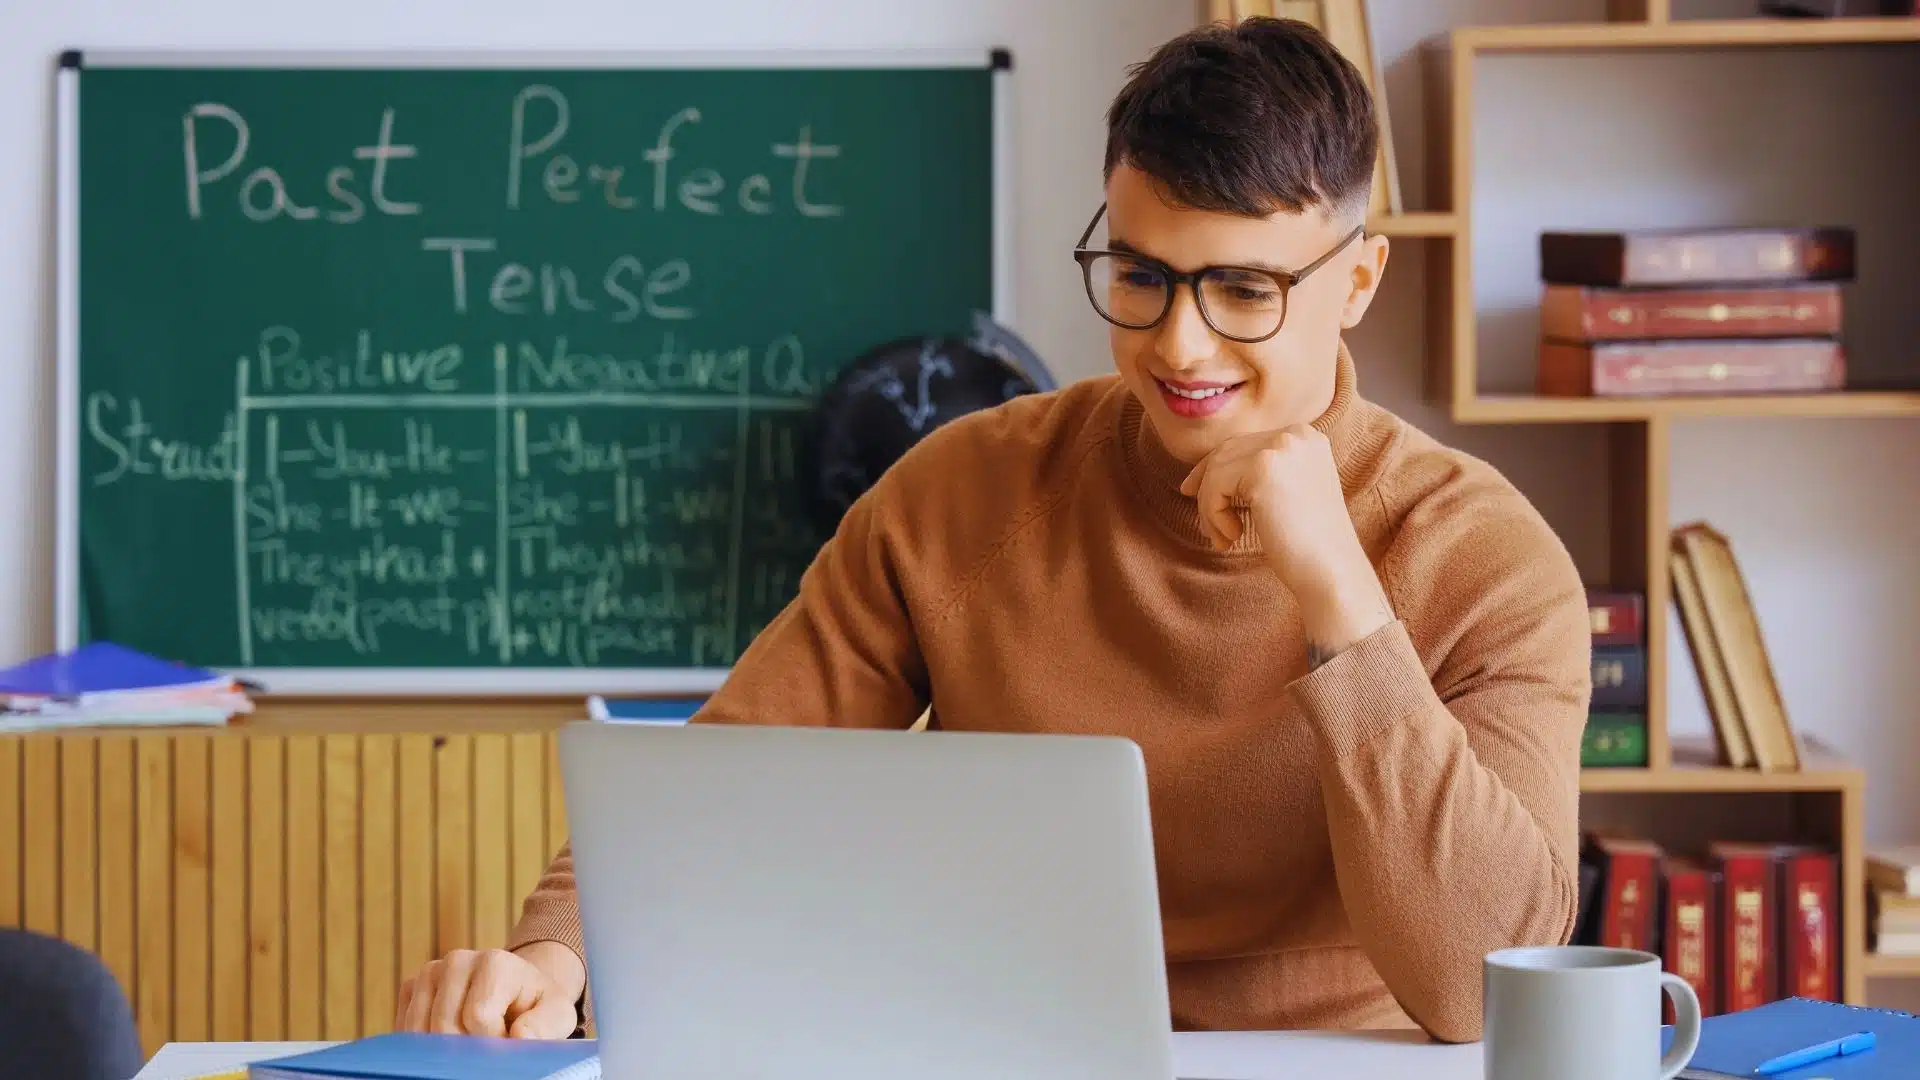
What equipment do you need to teach English online?
Wondering what tools or equipment you’ll use as a teacher?
Whether you’re a beginner ESL teacher or a seasoned pro, having the right tools and working equipment ensures smooth lessons and a professional presence.
Minimum computer requirements
A good computer is your most important investment. It’s the heart of your remote teaching supplies.
The best laptop for online teaching is one that balances processing power and memory, while also being portable.
Best specs for online teaching
- Processor: i5 and above (a fast processor mitigates lag and app freezing)
- RAM: 8GB RAM, 16GB RAM is recommended for running multiple apps
- Camera quality: HD quality (2MP and up) with built-in webcam
Laptop vs. desktop for online teachers
Laptops offer mobility and flexibility — I’ve been able to teach from different locations with ease. They don’t rely on being plugged in, so if there’s a power outage, you’re not doomed.
Laptops also have built-in webcams and mics, which reduces initial equipment costs. Plus, they’re compact, whereas desktops take up a lot of space.
However, desktops offer more power for demanding tasks and multiple applications, whereas laptops can overheat with extended usage — this matters when running online teaching tools that require a lot of processing power.
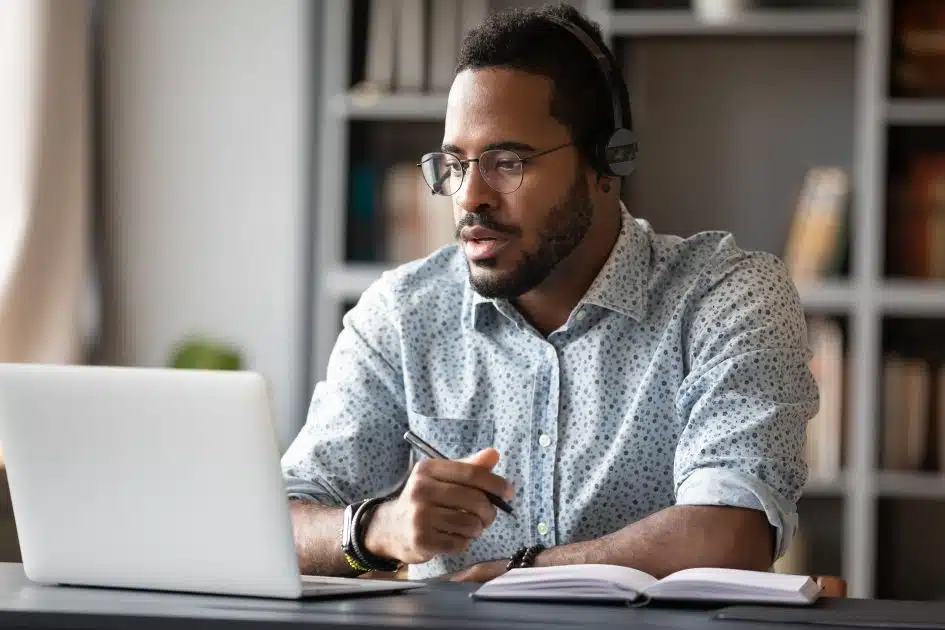
High-quality headset with a microphone
Look for noise cancellation and a built-in mic. Wired options are your safest bet for stable and reliable audio. USB and Bluetooth connections may cause audio lags and connectivity issues.
Stable internet connection
Minimum upload/download speeds:
- Upload speed: minimum 20 Mbps
- Download speed: minimum 20 Mbps
- Latency: 20-40ms
To find out more about testing your internet connection, check out this blog post: What Internet Speed Do I Really Need To Teach English Online?
Best webcam setup
Which is the best camera for online teaching: built-in or external cameras? It comes down to affordability, camera quality and flexibility.
- Affordability: Built-in webcams mean no extra spending, whereas quality external webcams can be pricey.
- Camera quality: External webcams offer much better camera quality than built-ins, which can look grainy.
- Flexibility: External webcams give you the freedom to switch camera angles without moving your desktop or laptop.
Resolution and framing:
- Use a minimum of 2MP resolution.
- Place your camera at eye level — elevate your laptop so that the camera is at the same height as your eyes to frame your face nicely.
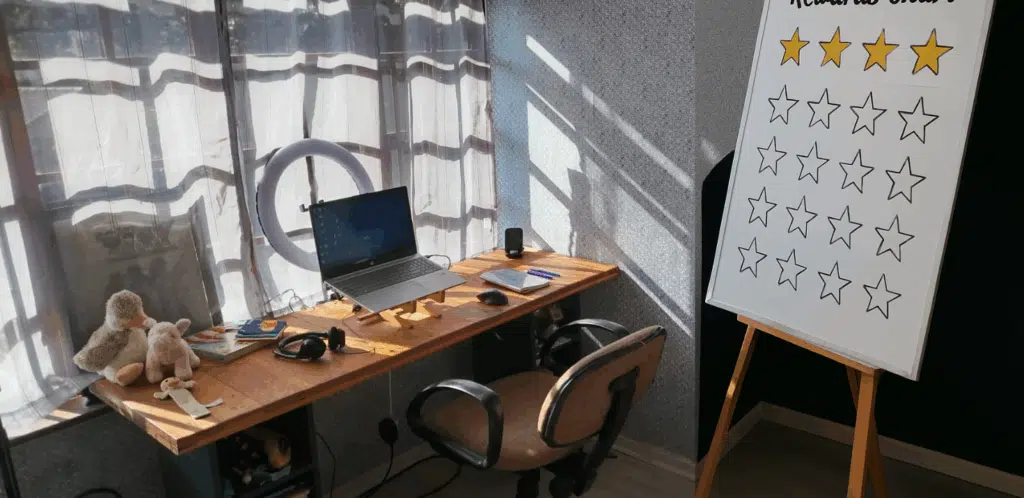
Optimal lighting setup
Nothing beats natural light, but due to weather unpredictability, you’ll need a backup light source. Lamps give partial light, and natural light is sometimes obscured by your camera.
A ring light is one of the best gadgets for online teaching. No matter your environment, a ring light compensates for poorly-lit areas.
When I bought my first ring light, I felt like a boss. The lighting levelled up my teaching game, where lamps and natural light fell short. I use it for all video calls now (just don’t expect me to look as polished in person).
Background setup
Neutral, uncluttered backgrounds are recommended so as not to distract students.
Physical vs. virtual backgrounds
- Physical backgrounds for the win! Having a sense of authenticity by showing your background goes a long way in establishing a more organic setting and rapport.
- Virtual backgrounds are great to use for opening your lesson, introducing yourself or teaching moments – and especially good for hiding background clutter!
Teaching props (for Young Learners)
- Whiteboards are great, especially if you’re using a reward system.
- Flashcards and toys are great as supplementary tools to keep students engaged and to switch tactics if students are unresponsive to digital tools.
Online teaching platform or software
If you want to start teaching right away, try online English teaching platforms, like 51talk or Preply.
Pros:
- No admin — student management, payments and scheduling are done by the company
- Minimal prep time — curriculum, content and materials are provided
- Students are assigned
Cons:
- Set hourly rates
- Minimum number of hours per week required
- Potential penalties for missing lessons
Read more: Online Teaching Platforms You Should Know
However, if you’re keen to be independent, virtual conferencing platforms like Zoom, Google Meet and Microsoft Teams are for you.
Pros:
- Set your own hourly rate and schedule
- Flexibility in what and how you teach
- Free software
- Potential for higher hourly rates
Cons:
- Unstable income due to fluctuating student numbers
- Sourcing students
- Managing student communication, payments and scheduling
- Possibly more prep time
Optional extras to upgrade your teaching setup
The following online teacher accessories and equipment will enhance your teaching setup:
- A second monitor is great for navigating between documents and programmes during a lesson.
- An external mouse and keyboard will mitigate any hand and shoulder strain.
- A standing desk is essential for your health, as sitting for extended periods can lead to “office chair butt”, amongst other health issues.
- A comfortable chair and footrest are great for comfort and better circulation.
These additional tools or working equipment can make lessons more engaging and your setup more ergonomically friendly.
Budget tips: how to build your setup without overspending
When I started out teaching English online, I had an i3 laptop — not the fastest. I used my laptop’s built-in camera and a very cheap headset with a mic, and it got the job done. However, I eventually upgraded my laptop with an SSD card to make it faster.
In other words, you don’t need to break the bank when starting out, but you might want to upgrade as your teaching business becomes more serious.
Let’s look at some shopping solutions to suit your budget.
Where to shop
Buying a low-mid range headset with a mic from local or e-commerce stores (like Amazon) will offer you a budget-friendly way to teach, with the peace of mind of having a new product.
Physical shops and ecommerce stores sell secondhand equipment, which is a great budget option if there’s a returns policy.
What to prioritise on a tight budget:
- A headset with a mic — this is a long-term investment
- A ring light
Free tools and DIY hacks
- Lighting hack: Don’t have a ring light? Face any available lamps towards a white wall in front of you. This will soften shadows.
- DIY background: Don’t have a whiteboard? Stick the coloured side of wrapping paper against a wall to show the white side. Or even better, laminate it so it acts as a whiteboard!
- Level up your laptop: Have a slow laptop? You don’t need to buy a new one. Upgrade components like RAM, storage (for example, from your hard drive to an SSD) or replace the battery, if necessary.
- Free software tools:
- Remove background noise with Krisp.ai.
- Create visual content for your ESL lesson with Canva.
- Use Loom to create pre-recorded videos for your lesson and/or feedback reports.
Renting vs. buying for temporary teachers
Renting equipment is possible in some countries, though it’s not common for basic equipment like headsets. New teachers might want to hire lighting or good sound equipment for recording demo or introductory videos, or if they are recording a podcast or creating lesson materials.
Due to the flexibility of online teaching equipment, in the long run, buying your equipment works out cheaper than renting.
Read more: How To Make A Kickass Teaching Demo Video For Teaching English Online
Budget-friendly online teaching setup (with examples)
Your online class setup equipment can be tailored to your space, budget and teaching style.
Budget setup under $100
- Webcam: Logitech C270 HD — approx. $25
- Headset with mic: Logitech H111 — approx. $20
- Lighting: Desk lamp — free
- DIY background/whiteboard: Laminated paper — $5–$10
- Software: Zoom, Google Meet, Canva, Loom — free
Intermediate setup under $300
- Webcam: Logitech Brio 100 — $60–$80
- Wired headset with microphone: Logitech H390 USB or Jabra Evolve2 30 — $30–$50
- Lighting: Ring light with adjustable brightness — $20–$40
- Background: Whiteboard — $15–$50
- Laptop stand: For optimal camera positioning — $20
- Software: Free tools + optional upgrades — free-$30
Pro-level setup for long-term teachers
- HD webcam: Logitech Brio 100 or OBSBOT Meet SE 1080P — $60-$80
- Lighting: Ring light or LED adjustable desk light — $80–$100
- External monitor: For multitasking and lesson prep — $100–$150
- Ergonomic desk/chair: Comfort for long hours — varies
- Paid software: Premium Zoom, lesson design tools, editing apps — $10–$30 a month

Common mistakes online teachers make with equipment
Relying on built-in microphones
I only became aware of the poor sound quality of a built-in mic when I first started teaching English online.
Some students would use a quality headset with a mic, which sounded super professional. Others used their laptops’ built-in mic, which sounded muffled, tinny, echoey and picked up a lot of background noise. Even a basic headset is an upgrade to your setup!
Ignoring lighting and camera angles
I cringe when I think about my earlier online teaching days. Ring lights weren’t a thing yet, and my lighting was not something I am proud of.
My workroom had little to no sunlight. The lamps I used cast shadows on my face and left a glare on my glasses. I also didn’t have a laptop stand — my webcam angle showed the contents of my nose!
Not testing equipment before class
The number of lessons that start with “Can you hear me now?” is too darn high! It becomes specifically annoying to your students once it becomes a pattern. That’s why I make it a habit to test my online teaching equipment (sound, camera and internet connectivity) before my lessons begin, even if it worked fine the day before.
The online ESL industry is booming, and many, including myself, describe it as a saturated market. To stand out from the rest, make sure you have the essentials, then work toward upgrading your ESL online teaching equipment and setup. You’ve got this!
Author Bio
Table of Contents
- Introduction
- What equipment do you need?
- Optional extras
- Budget tips
- Budget-friendly teaching setup
- Common mistakes
Did you know that the online teaching industry is the fastest-growing sector in education?
The online English teaching industry is predicted to double from approximately $28 billion in 2024 to roughly $70 billion by 2030!
What does that mean for you?
It’s a lucrative industry. Having the right tools and equipment for online English teaching is essential for delivering effective lessons that stand out.
Here we break down exactly what tools and equipment are essential for a teacher, from PC specs to budget hacks and cost breakdowns to suit your budget needs.
Let’s get started!
What equipment do you need to teach English online?
Wondering what tools or equipment you’ll use as a teacher?
Whether you’re a beginner ESL teacher or a seasoned pro, having the right tools and working equipment ensures smooth lessons and a professional presence.
Minimum computer requirements
A good computer is your most important investment. It’s the heart of your remote teaching supplies.
The best laptop for online teaching is one that balances processing power and memory, while also being portable.
Best specs for online teaching
- Processor: i5 and above (a fast processor mitigates lag and app freezing)
- RAM: 8GB RAM, 16GB RAM is recommended for running multiple apps
- Camera quality: HD quality (2MP and up) with built-in webcam
Laptop vs. desktop for online teachers
Laptops offer mobility and flexibility — I’ve been able to teach from different locations with ease. They don’t rely on being plugged in, so if there’s a power outage, you’re not doomed.
Laptops also have built-in webcams and mics, which reduces initial equipment costs. Plus, they’re compact, whereas desktops take up a lot of space.
However, desktops offer more power for demanding tasks and multiple applications, whereas laptops can overheat with extended usage — this matters when running online teaching tools that require a lot of processing power.
High-quality headset with a microphone
Look for noise cancellation and a built-in mic. Wired options are your safest bet for stable and reliable audio. USB and Bluetooth connections may cause audio lags and connectivity issues.
Stable internet connection
Minimum upload/download speeds:
- Upload speed: minimum 20 Mbps
- Download speed: minimum 20 Mbps
- Latency: 20-40ms
To find out more about testing your internet connection, check out this blog post: What Internet Speed Do I Really Need To Teach English Online?
Best webcam setup
Which is the best camera for online teaching: built-in or external cameras? It comes down to affordability, camera quality and flexibility.
- Affordability: Built-in webcams mean no extra spending, whereas quality external webcams can be pricey.
- Camera quality: External webcams offer much better camera quality than built-ins, which can look grainy.
- Flexibility: External webcams give you the freedom to switch camera angles without moving your desktop or laptop.
Resolution and framing:
- Use a minimum of 2MP resolution.
- Place your camera at eye level — elevate your laptop so that the camera is at the same height as your eyes to frame your face nicely.
Optimal lighting setup
Nothing beats natural light, but due to weather unpredictability, you’ll need a backup light source. Lamps give partial light, and natural light is sometimes obscured by your camera.
A ring light is one of the best gadgets for online teaching. No matter your environment, a ring light compensates for poorly-lit areas.
When I bought my first ring light, I felt like a boss. The lighting levelled up my teaching game, where lamps and natural light fell short. I use it for all video calls now (just don’t expect me to look as polished in person).
Background setup
Neutral, uncluttered backgrounds are recommended so as not to distract students.
Physical vs. virtual backgrounds
- Physical backgrounds for the win! Having a sense of authenticity by showing your background goes a long way in establishing a more organic setting and rapport.
- Virtual backgrounds are great to use for opening your lesson, introducing yourself or teaching moments – and especially good for hiding background clutter!
Teaching props (for Young Learners)
- Whiteboards are great, especially if you’re using a reward system.
- Flashcards and toys are great as supplementary tools to keep students engaged and to switch tactics if students are unresponsive to digital tools.
Online teaching platform or software
If you want to start teaching right away, try online English teaching platforms, like 51talk or Preply.
Pros:
- No admin — student management, payments and scheduling are done by the company
- Minimal prep time — curriculum, content and materials are provided
- Students are assigned
Cons:
- Set hourly rates
- Minimum number of hours per week required
- Potential penalties for missing lessons
Read more: Online Teaching Platforms You Should Know
However, if you’re keen to be independent, virtual conferencing platforms like Zoom, Google Meet and Microsoft Teams are for you.
Pros:
- Set your own hourly rate and schedule
- Flexibility in what and how you teach
- Free software
- Potential for higher hourly rates
Cons:
- Unstable income due to fluctuating student numbers
- Sourcing students
- Managing student communication, payments and scheduling
- Possibly more prep time
Optional extras to upgrade your teaching setup
The following online teacher accessories and equipment will enhance your teaching setup:
- A second monitor is great for navigating between documents and programmes during a lesson.
- An external mouse and keyboard will mitigate any hand and shoulder strain.
- A standing desk is essential for your health, as sitting for extended periods can lead to “office chair butt”, amongst other health issues.
- A comfortable chair and footrest are great for comfort and better circulation.
These additional tools or working equipment can make lessons more engaging and your setup more ergonomically friendly.
Budget tips: how to build your setup without overspending
When I started out teaching English online, I had an i3 laptop — not the fastest. I used my laptop’s built-in camera and a very cheap headset with a mic, and it got the job done. However, I eventually upgraded my laptop with an SSD card to make it faster.
In other words, you don’t need to break the bank when starting out, but you might want to upgrade as your teaching business becomes more serious.
Let’s look at some shopping solutions to suit your budget.
Where to shop
Buying a low-mid range headset with a mic from local or e-commerce stores (like Amazon) will offer you a budget-friendly way to teach, with the peace of mind of having a new product.
Physical shops and ecommerce stores sell secondhand equipment, which is a great budget option if there’s a returns policy.
What to prioritise on a tight budget:
- A headset with a mic — this is a long-term investment
- A ring light
Free tools and DIY hacks
- Lighting hack: Don’t have a ring light? Face any available lamps towards a white wall in front of you. This will soften shadows.
- DIY background: Don’t have a whiteboard? Stick the coloured side of wrapping paper against a wall to show the white side. Or even better, laminate it so it acts as a whiteboard!
- Level up your laptop: Have a slow laptop? You don’t need to buy a new one. Upgrade components like RAM, storage (for example, from your hard drive to an SSD) or replace the battery, if necessary.
- Free software tools:
- Remove background noise with Krisp.ai.
- Create visual content for your ESL lesson with Canva.
- Use Loom to create pre-recorded videos for your lesson and/or feedback reports.
Renting vs. buying for temporary teachers
Renting equipment is possible in some countries, though it’s not common for basic equipment like headsets. New teachers might want to hire lighting or good sound equipment for recording demo or introductory videos, or if they are recording a podcast or creating lesson materials.
Due to the flexibility of online teaching equipment, in the long run, buying your equipment works out cheaper than renting.
Read more: How To Make A Kickass Teaching Demo Video For Teaching English Online
Budget-friendly online teaching setup (with examples)
Your online class setup equipment can be tailored to your space, budget and teaching style.
Budget setup under $100
- Webcam: Logitech C270 HD — approx. $25
- Headset with mic: Logitech H111 — approx. $20
- Lighting: Desk lamp — free
- DIY background/whiteboard: Laminated paper — $5–$10
- Software: Zoom, Google Meet, Canva, Loom — free
Intermediate setup under $300
- Webcam: Logitech Brio 100 — $60–$80
- Wired headset with microphone: Logitech H390 USB or Jabra Evolve2 30 — $30–$50
- Lighting: Ring light with adjustable brightness — $20–$40
- Background: Whiteboard — $15–$50
- Laptop stand: For optimal camera positioning — $20
- Software: Free tools + optional upgrades — free-$30
Pro-level setup for long-term teachers
- HD webcam: Logitech Brio 100 or OBSBOT Meet SE 1080P — $60-$80
- Lighting: Ring light or LED adjustable desk light — $80–$100
- External monitor: For multitasking and lesson prep — $100–$150
- Ergonomic desk/chair: Comfort for long hours — varies
- Paid software: Premium Zoom, lesson design tools, editing apps — $10–$30 a month
Common mistakes online teachers make with equipment
Relying on built-in microphones
I only became aware of the poor sound quality of a built-in mic when I first started teaching English online.
Some students would use a quality headset with a mic, which sounded super professional. Others used their laptops’ built-in mic, which sounded muffled, tinny, echoey and picked up a lot of background noise. Even a basic headset is an upgrade to your setup!
Ignoring lighting and camera angles
I cringe when I think about my earlier online teaching days. Ring lights weren’t a thing yet, and my lighting was not something I am proud of.
My workroom had little to no sunlight. The lamps I used cast shadows on my face and left a glare on my glasses. I also didn’t have a laptop stand — my webcam angle showed the contents of my nose!
Not testing equipment before class
The number of lessons that start with “Can you hear me now?” is too darn high! It becomes specifically annoying to your students once it becomes a pattern. That’s why I make it a habit to test my online teaching equipment (sound, camera and internet connectivity) before my lessons begin, even if it worked fine the day before.
The online ESL industry is booming, and many, including myself, describe it as a saturated market. To stand out from the rest, make sure you have the essentials, then work toward upgrading your ESL online teaching equipment and setup. You’ve got this!